🛠️ The Ultimate Guide to Setting Up Your Home Network (In Plain English)
Setting up your home network doesn’t need to feel like building a spaceship. With the right gear and a little guidance, you can go from staring at blinking lights to streaming, gaming, and working with rock-solid Wi-Fi. Let’s walk through it together.

Step 1: Know What You Need
Before you grab a router off Amazon, pause for a second and take stock. Your network isn’t just about “having internet” — it’s about supporting your life.
Think about how many gadgets you have today: phones, laptops, a couple of smart TVs, maybe a gaming console, and probably a smart speaker or two. Then think about tomorrow — are you adding security cameras, smart thermostats, or a home office setup? Each of those devices adds to the load.
- Devices → laptops, phones, smart TVs, gaming consoles, security cams, smart speakers… the more you’ve got, the more bandwidth you’ll need.
- Activities → gaming and 4K streaming chew more data than just scrolling TikTok.
- House Size & Layout → Wi-Fi hates walls, floors, and weird layouts. Bigger homes = more coverage solutions like mesh or extenders.
- Future Proofing → Planning to add more gadgets, work from home more, or upgrade your internet speed? Plan ahead now so you don’t have to re-buy later.
Also, look at your house itself. A one-bedroom apartment won’t have the same Wi-Fi struggles as a three-story home with thick walls. A little awareness here saves you from buying gear that’s either overkill or not strong enough.
👉 Bottom line: make a list of your devices and how you use them. If you stream a lot or game online, circle those — they’re bandwidth hogs. If you’re planning smart home upgrades, keep those in mind too.
Step 2: Pick Your Modem & Router
These two are the backbone of your network.
Now that you know what you need, let’s tackle the heart of your setup: the modem and router.
- The modem is your internet “translator.” It takes the signal from your provider and makes it usable in your home.
- The router is the “traffic cop.” It decides which device gets which slice of the internet pie.
Some ISPs will try to rent you their gear, but that’s like renting a rusty old car — it works, but you’re paying forever, and it’s not top tier. Buying your own can save you money and give you more power.
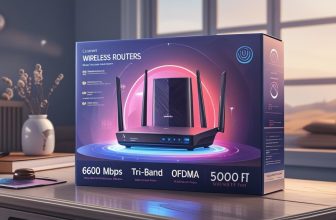
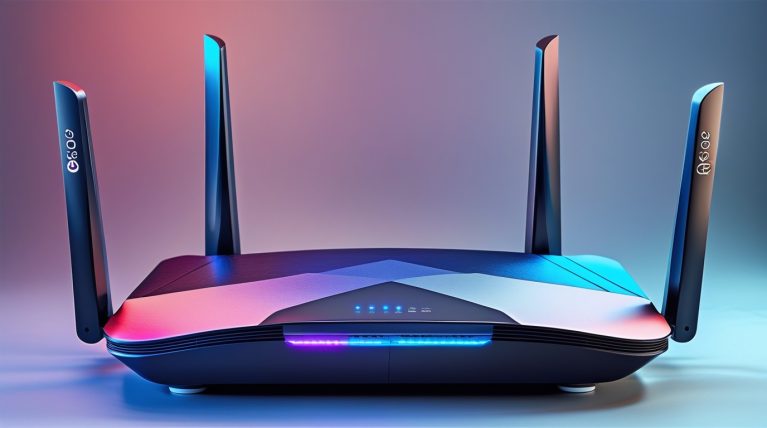
Wireless Routers:


When looking at routers, focus on Wi-Fi speed (Wi-Fi 6 or 6E is the current sweet spot), the number of Ethernet ports (do you want to plug in a gaming PC?), and features like parental controls or guest networks.
What to Watch For:
- ISP Rules → Some providers only allow certain modems. Always double-check first.
- Speed Support → Make sure the modem/router can handle the internet plan you’re paying for.
- Features → Routers can come with parental controls, guest networks, and fancy extras.
- Mesh Option → If you’ve got a big place, consider starting with mesh instead of fighting dead zones later.
👉 Pro Tip: If you’re overwhelmed, don’t overthink it. Match your router to your internet plan speed. If you’re paying for 500 Mbps, don’t get a bargain router capped at 300 Mbps. At the same time, don’t buy the $700 spaceship router unless you actually need it.
Step 3: Add Switches & Extenders (If You Need Them)
Once your main gear is set, you might realize you’ve got more stuff to plug in than your router can handle. Or maybe you’ve got a “Wi-Fi dead room” where the signal is basically a rumor. That’s where switches and extenders come in.
- A switch is like a power strip for Ethernet. If you’ve got more wired devices than your router has ports, a switch gives you extras. Plug one into your router, then plug in all your gear. Easy.
- An extender (or repeater) grabs your Wi-Fi signal and repeats it farther. Good for filling in dead spots without spending big on new gear.
👉 Pro tip: don’t expect extenders to work miracles. Put them halfway between your router and the dead zone, not inside the dead zone itself. They need a decent signal to rebroadcast.
Wi-Fi Extenders:


Network Switches:


Step 4: Use Adapters for Older Gear
Got a device that insists on a wired connection but no Ethernet port in sight? That’s where adapters save the day.
- USB to Ethernet Adapters → Plug into a USB port, boom — you’ve got a wired jack.
- Wi-Fi Adapters → If an older desktop doesn’t have Wi-Fi built in, these give it wireless capability.
Sometimes you’ve got older devices that refuse to play nice with modern Wi-Fi. That’s okay — adapters are the bridge between old and new.
- USB adapters give an older laptop or PC Wi-Fi powers.
- Ethernet adapters let tablets or ultrabooks plug into wired internet when Wi-Fi is weak.
👉 Don’t stress about “drivers” or “compatibility” — most modern adapters are plug-and-play. Plug it in, wait a few seconds, and you’re online. Worst case? Head to the manufacturer’s website and grab the driver software. Takes five minutes.
Wi-Fi Adapters:


Step 5: Set Up Printers & Peripherals
Ah, printers — the eternal test of patience. The trick is to follow the steps in order instead of guessing.
Nothing kills momentum faster than fighting with a printer. Here’s the order:
- Connect the printer to Wi-Fi or plug it into your router.
- Install the driver software (most computers now auto-detect and install, but keep the CD/download handy).
- Enable sharing if you want multiple computers in the house to use it.
- Print a test page. If it comes out, you’re golden.
The same approach works for other peripherals like NAS drives, smart hubs, or scanners.
👉 My advice: Don’t panic if it doesn’t work right away. Restarting the printer and router solves half the problems you’ll face. The other half are usually a missing driver or a wrong Wi-Fi password. Take it step by step — it’ll click.
Home Office Printers:


Step 6: Consider Mesh Networking
If you’ve got a big house, multiple floors, or a layout that makes Wi-Fi cry, mesh might be your best friend.
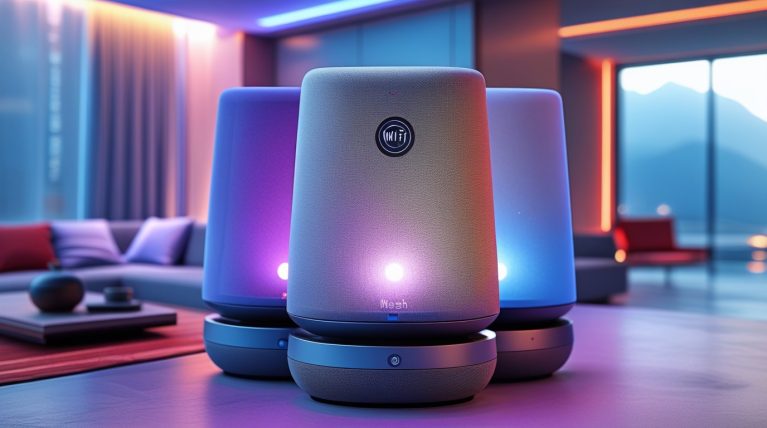
- How it Works → Mesh uses multiple nodes (little Wi-Fi pods) that all talk to each other, creating one big seamless network.
- Why It’s Better → Your phone or laptop automatically hops to the strongest node. No more clinging to a weak signal on the far side of the house.
- Scalability → Start with 2 or 3 nodes, and add more later if needed.
If your home is large, oddly shaped, or full of Wi-Fi dead zones, extenders can only take you so far. That’s when mesh becomes your best friend.
Mesh systems use multiple “nodes” spread around the house. Instead of your devices stubbornly clinging to one weak signal, they hop to the nearest node automatically. The result? Seamless coverage everywhere.
👉 Pro tip: Don’t let “mesh” intimidate you. The apps that come with mesh systems are dead simple. You plug the main unit into your modem, place the satellites around your home, and the app walks you through the rest. If you can set up Netflix, you can set up mesh.
Mesh Wi-Fi Systems:


✅ The Bottom Line
Setting up your home network doesn’t have to be intimidating. Break it down step by step:
- Figure out your needs.
- Get the right modem + router.
- Add switches/extenders if necessary.
- Use adapters for older stuff.
- Connect and configure printers/peripherals.
- Go mesh if you’ve got a bigger home.
Do that, and you’ll have a network that’s fast, reliable, and future-ready — without the dead zones and hair-pulling.
🎓 Ready to Go Deeper?
Setting up your home network correctly is an important step. But if you’re not careful, this is when things can really go sideways. If you want to really take control — troubleshooting problems, fixing mistakes, locking down your security, and upgrading like a pro — that’s where my Home Network Engineer Course comes in.
✅ You’ll Be Able To:
- Fix Wi-Fi and device problems fast – Know what’s wrong and how to handle it
- Speed up your connection – Boost coverage, kill lag, and reduce dropouts
- Lock it down – Protect your network from freeloaders and shady devices
- Upgrade with confidence – Know what gear to get (and what to skip)
- Stop second-guessing yourself – Never be scared of a blinking router again
Because setting up a network is cool. Owning it? Even better.
More Wi-Fi 🧠 Brainiac Articles!

WiFi Guy’s World

400-Dollar Smart Home Setup For Renters
pcWRT PW-AX1800 Wi‑Fi 6 VPN Mesh Router — High Security at a Low Price

Routers With High-End Security And Easy VLAN Support
These Wi-Fi 7 Mesh Bullies Crush Dead Zones

Start Your Smart Home Off Right With These 3 Top Smart Hubs
Last update on 2026-04-27 at 21:15 Affiliate links and Images from Amazon Product Advertising API