The WiFi Guy’s Guide: Router Settings That Actually Matter
Setting up a router shouldn’t feel like diffusing a bomb. Give me 10 minutes and a cup of coffee—we’ll turn your Wi-Fi from “why-fi” into Wi-Fi whoa. Below are the settings I always check on a fresh router so you get fast, stable, and secure internet without the drama.

Router Settings Guide by Brand
Setting up your Wi-Fi router can feel like digging through a control panel written in Martian. Every brand calls things something slightly different. No worries—I’ve got your back. Here’s a quick guide to where you’ll usually find the important settings on popular brands.
TP-Link Routers
- Login Address:
192.168.0.1or192.168.1.1 - Default Login: Usually admin / admin
- Where to Find Settings:
- Wireless Settings → Change SSID & Password
- Advanced → Security → Encryption (set WPA2 or WPA3)
- System Tools → Firmware Upgrade → Update your router
- Advanced → QoS → Set device/app priorities
- Guest Network → Easy toggle under Wireless
👉 TP-Link’s menu is one of the most user-friendly. If you see “Quick Setup,” skip it and go straight to Advanced for the good stuff.
Netgear Routers
- Login Address:
routerlogin.netor192.168.1.1 - Default Login: admin / password (yep, change that fast)
- Where to Find Settings:
- Wireless → Basic → SSID & password
- Advanced → Security → WPA Settings → WPA2/WPA3
- Advanced → Administration → Router Update → Firmware check
- Advanced → Setup → QoS Setup → Turn on and prioritize traffic
- Guest Network → Found under Wireless Settings
👉 Netgear loves to throw “Smart Connect” at you. It’s basically band steering—leave it on unless it causes issues.
ASUS Routers
- Login Address:
192.168.50.1 - Default Login: admin / admin
- Where to Find Settings:
- Wireless → General → Change network name and password
- Wireless → Professional → Advanced tweaks (beamforming, airtime fairness)
- Administration → Firmware Upgrade → Check updates
- Adaptive QoS → Great dashboard for traffic priority
- Guest Network → One-click setup
👉 ASUS has some of the best QoS tools—perfect if you’re gaming or streaming.
Linksys Routers
- Login Address:
192.168.1.1 - Default Login: admin / (leave password blank sometimes)
- Where to Find Settings:
- Wireless → Basic Wireless Settings → SSID & password
- Wireless → Security → WPA2/WPA3 setup
- Connectivity → Firmware Update → Update router
- Smart Wi-Fi App → Easy way to tweak settings
- Guest Access → Front and center
👉 Linksys menus can be a little clunky—use their app if possible.
D-Link Routers
- Login Address:
192.168.0.1or192.168.1.1 - Default Login: admin / (blank password)
- Where to Find Settings:
- Setup → Wireless Settings → SSID & password
- Advanced → Wireless Security → WPA2/WPA3
- Tools → Firmware → Upgrade option
- Advanced → QoS Engine → Prioritize devices
- Guest Zone → Found under Wireless
👉 D-Link’s “QoS Engine” can feel confusing—stick to device priority lists if available.
General Tips (No Matter the Brand)
- Always change the default admin password.
- Turn off WPS (that push-button connect thing—hackers love it).
- Use WPA2 or WPA3 only (never WEP, it’s basically open Wi-Fi).
- Update firmware regularly for security fixes.
- If menus look scary, use the app (most modern routers have one).
1) Change the Admin Login (not your Wi-Fi password)
The admin username/password controls access to the router’s dashboard. If you leave it on “admin/admin,” you’re basically leaving the keys in the door.
Do this:
- Log in at
192.168.0.1or192.168.1.1(check your router’s label). - Find Administration / Management.
- Change the admin username and set a long, unique admin password.
- If available, enable 2-Factor Authentication.
- Disable Remote Management unless you truly need it.
WiFi Guy Tip: Your admin password and your Wi-Fi passphrase are different. One opens the control room; the other joins the network.
2) Update Firmware (your router’s brain software)
Firmware updates fix bugs, patch security holes, and sometimes add features.
Do this:
- In Administration / System, check Firmware Update.
- Back up your configuration first.
- Run the update from the web UI (or download from the manufacturer).
- Let the router reboot; verify the new version.
WiFi Guy Tip: If auto-updates exist, turn them on. Do manual updates during off-hours to avoid mutiny from the living room.
3) Use the Right Security: WPA3 (or WPA2 if you must)
Encryption keeps neighbors (and drive-by snoops) out of your traffic.
Do this:
- In Wireless / Security, set WPA3-Personal.
If older devices choke, use WPA2/WPA3 Mixed or WPA2-Personal. - Create a strong Wi-Fi passphrase (use words+numbers+symbol).
WiFi Guy Tip: Turn off WEP if you see it. That’s museum-grade.
4) Turn Off WPS (the “easy button” that’s too easy)WPS push-button/pin pairing has known vulnerabilities.
Do this:
Find WPS and set it to Disabled.
5) Pick Cleaner Channels (especially on 2.4 GHz)
Crowded channels = buffering, drops, and rage-quits.
Do this:
- Scan with a Wi-Fi analyzer app.
- 2.4 GHz: choose 1, 6, or 11 (whichever is least crowded).
- 5/6 GHz: auto usually works; you can still nudge it if needed.
WiFi Guy Tip: If your home is dense with networks, live on 5 GHz (or 6 GHz with Wi-Fi 6E/7) as much as possible.

6) Name Your Networks Smartly (SSIDs)
Keep things simple for band steering and your sanity.
Do this:
- Use a clear SSID (e.g., WiFiGuy-Home).
- If your router supports Smart Connect/Band Steering, you can keep one SSID for 2.4/5/6 GHz so devices auto-pick the best band.
- Or keep separate SSIDs (e.g., “WiFiGuy-2G” and “WiFiGuy-5G”) if you want manual control for stubborn smart devices.
7) Enable Band Steering (aka Smart Connect)
Let the router nudge capable devices to faster, cleaner bands.
Do this:
Turn on Band Steering / Smart Connect. Test a day; if an IoT bulb throws a tantrum, temporarily connect it to 2.4 GHz.

8) Create a Guest Network (and isolate it)
Guests get internet—not access to your computers, NAS, or printers.
Do this:
- Enable Guest Network with its own password.
- Turn on Guest Isolation (blocks access to your main LAN).
- Optional: schedule the guest SSID to turn off at night.
9) Turn On QoS (Quality of Service) the easy way
When everyone’s online, QoS keeps video calls and gaming smooth.
Do this:
- In QoS, choose Automatic/Adaptive if available.
- If manual: prioritize Video Calls, Streaming, Gaming, or specific devices that need low latency.
WiFi Guy Tip: Don’t over-tweak QoS every hour. Set it once, then leave it alone unless you have a real problem.
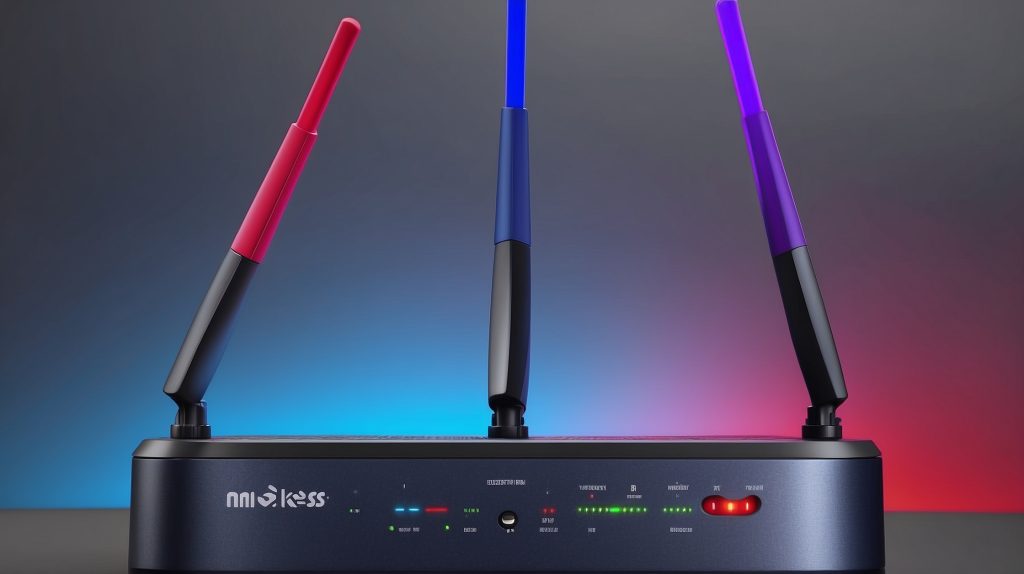
10) Place & Aim Antennas Like You Mean It
Wi-Fi is radio—walls, metal, and microwaves mess with it.
Do this:
- Put the router central and elevated, away from thick walls and appliances.
- External antennas: try straight up; if you have two, set one vertical, one angled 30–45°. Test and adjust.
11) MAC Filtering (optional, and don’t rely on it)
It lets only approved MAC addresses connect. But MACs can be spoofed.
Do this (only if you want the extra chore):
- Add your devices’ MAC addresses to Access Control / MAC Filter.
- Do not treat this as real security—use it as a minor speed bump on top of WPA2/3.
12) Consider Mesh for Bigger Homes
If coverage dies upstairs or in the backyard, a single router is fighting physics.
Do this:
- For multi-story or sprawling homes, move to a Mesh Wi-Fi system.
- Look for tri-band (or 6 GHz) backhaul, easy app setup, WPA3, and Ethernet backhaul if your home’s wired.
WiFi Guy Tip: Extenders are Band-Aids. Mesh is surgery (in a good way).

13) Keep Devices Updated Too
Your router isn’t the only thing with bugs.
Do this:
Update phones, laptops, TVs, game consoles, smart devices—firmware and drivers matter for speed and stability.
Quick-Start Checklist (print me)
- Change admin username & password
- Update firmware (enable auto-updates if possible)
- Set WPA3 (or WPA2) + strong Wi-Fi passphrase
- Disable WPS
- Pick clean channels (1/6/11 on 2.4 GHz)
- Enable Band Steering / Smart Connect
- Create Guest Network with isolation
- Turn on QoS (auto/adaptive)
- Optimize placement/antennas
- Consider Mesh if coverage still stinks
- Keep all devices updated
Mini-FAQ (WiFi Guy Speed Round)
“I forgot my Wi-Fi password.”
Log into the router admin page to view/reset it. Worst-case, factory reset the router and reconfigure (use your config backup if you made one—do that next time 😉).
“Where should the router go?”
Center + high. Avoid metal racks, fish tanks, and microwaves. If you can see more of the house from that spot, your signal can too.
“Do I need WPA3?”
It’s best. If an older gadget can’t join, try WPA2/WPA3 mixed mode—or keep a separate 2.4 GHz WPA2-only SSID just for legacy devices.
“Will one router cover my big house?”
Probably not. Go mesh (2–3 nodes) or run Ethernet to access points for a pro-grade solution.
WiFi Guy’s Take
Most routers ship in “safe but lazy” mode. Spend a few minutes with these settings and you’ll unlock the speed you’re paying for, lock down the security you need, and squash the weird disconnects that drive everyone nuts. It’s not rocket science—it’s just Wi-Fi done right. ✅
If you want, I can turn this into a one-page checklist PDF or a settings-by-brand guide (TP-Link, ASUS, NETGEAR, eero, Deco, Orbi) so you can click exactly where to find each option.
🎓 Want to Really Master Your Wi-Fi?
If you’re ready to go beyond quick fixes and actually own your network, check out my Home Network Mastery Course.
Inside, I’ll show you:
- Fix Wi-Fi problems fast – Know what’s wrong and how to handle it
- Speed up your connection – Boost coverage, kill lag, and reduce dropouts
- Upgrade with confidence – Know what gear to get (and what to skip)
- Stop second-guessing yourself – Never be scared of a blinking router again
Wi-Fi 🧠 Brainiac How-To Articles

WiFi Guy’s World

400-Dollar Smart Home Setup For Renters

pcWRT PW-AX1800 Wi‑Fi 6 VPN Mesh Router — High Security at a Low Price

Routers With High-End Security And Easy VLAN Support

These Wi-Fi 7 Mesh Bullies Crush Dead Zones