How To Install A Network Adapter: Step-By-Step
Introduction
When it comes to connecting to the internet or a local network, having a functioning network adapter is critical. Whether you’re setting up a wired Ethernet connection or a wireless Wi-Fi network, understanding the process of installing a network adapter is essential. In this guide, we will walk you through the steps to successfully install both types of network adapters, ensuring a seamless online experience.

Understanding Network Adapters
Network adapters, also known as network interface cards (NICs), are hardware components that enable computers to communicate over a network. They facilitate the exchange of data between your computer and other devices on the same network or the internet. Network adapters come in various types, including Ethernet and Wi-Fi, each with its own installation process.
These adapters come in various flavors to accommodate different types of connections. The two primary types of network adapters are Ethernet and Wi-Fi. Ethernet adapters provide a wired connection using Ethernet cables, offering reliable and high-speed connectivity. They’re commonly used in situations where a stable and consistent connection is essential, such as in offices and gaming setups.
On the other hand, Wi-Fi adapters enable wireless connectivity by connecting to Wi-Fi networks. They free you from the constraints of physical cables, allowing you to connect to the internet from anywhere within the range of your wireless router. Wi-Fi adapters are the go-to choice for laptops, smartphones, tablets, and other portable devices.
When choosing a network adapter, it’s important to consider your specific needs. If you require a faster and more stable connection, an Ethernet adapter might be the better choice. However, if mobility and convenience are your priorities, a Wi-Fi adapter will offer the flexibility you need.
In essence, network adapters are the unsung heroes of modern connectivity. They facilitate our online interactions, from sending emails and participating in video calls to streaming movies and playing online games. As you dive into the world of network installation, understanding the significance of these adapters will empower you to make informed decisions about the type of connection that best suits your needs.
Types of Network Adapters
Before you start installing a network adapter, it’s important to identify the type that suits your needs. Ethernet adapters provide a wired connection, ideal for stable and high-speed connections. Wi-Fi adapters, on the other hand, allow wireless connectivity, granting you the flexibility to connect to networks without physical cables.
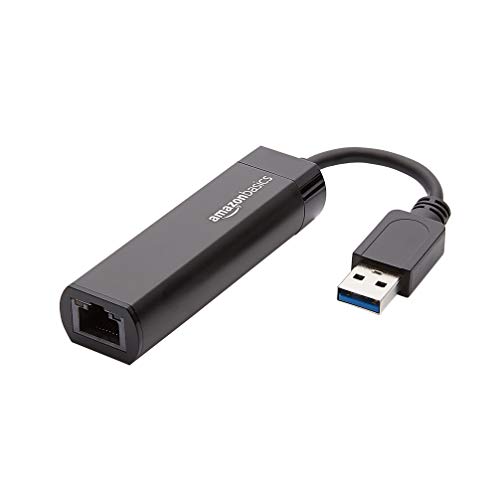
Ethernet Adapters: Wired Connectivity
Ethernet adapters, also referred to as Ethernet NICs (Network Interface Cards), are the stalwarts of wired connectivity. If you’re seeking a reliable and high-speed connection, Ethernet is the way to go. These adapters facilitate communication through physical Ethernet cables, which are capable of carrying large amounts of data quickly and consistently.
 Amazon.com
 Amazon.com
 Amazon.com

Ethernet adapters are commonly used in settings where a stable and robust connection is paramount. They’re ideal for desktop computers, workstations, and gaming rigs that require low latency and minimal signal interference. In office environments, Ethernet connections ensure seamless data transfer, making them indispensable for tasks such as file sharing and video conferencing.
The installation of Ethernet adapters involves physically connecting your computer to a router or switch using an Ethernet cable. This method provides a consistent and dedicated connection, making it a preferred choice for activities that demand a high data throughput.
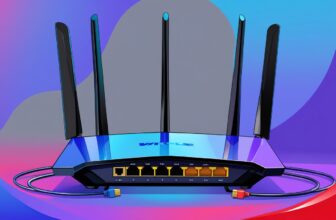
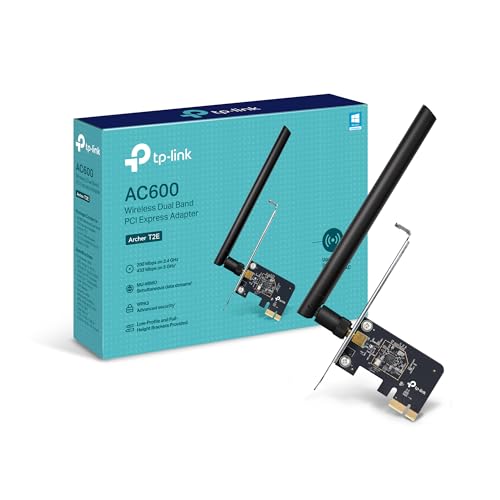
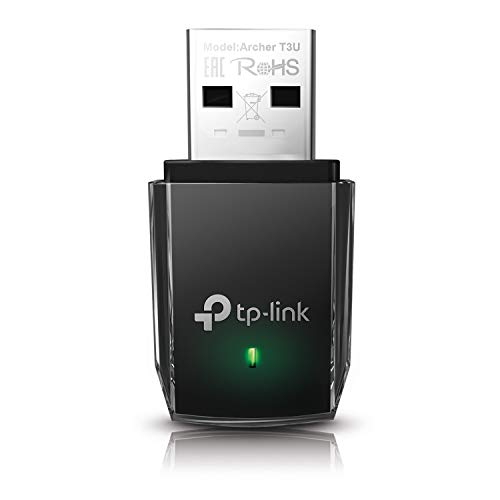
Wi-Fi Adapters: Wireless Freedom
Wi-Fi adapters, on the other hand, grant you the freedom to connect without being tethered by cables. These adapters enable wireless communication with Wi-Fi networks, allowing you to access the internet from anywhere within the coverage area of your router. They’re particularly suitable for laptops, smartphones, tablets, and other portable devices that require mobility.
 Amazon.com
 Amazon.com
 Amazon.com
 Amazon.com
Wi-Fi adapters function by connecting to available wireless networks, much like your devices connect to your home Wi-Fi. They provide convenience and flexibility, allowing you to move around your home or office while staying connected. Wi-Fi technology has evolved over the years, offering faster speeds and improved security features, making it a popular choice for everyday internet use.
Setting up a Wi-Fi adapter typically involves selecting a network from the available options, entering the network’s password (if required), and establishing a connection. Once connected, you can enjoy internet access without the need for physical cables.
Choosing the Right Adapter for You
The choice between Ethernet and Wi-Fi adapters depends on your specific requirements. If you prioritize stability, speed, and are willing to work with cables, an Ethernet adapter is the way to go. On the other hand, if you value mobility, convenience, and the ability to connect multiple devices wirelessly, a Wi-Fi adapter is the more suitable option.
Ultimately, your choice of network adapter will impact your online experience. By considering your usage patterns, desired speeds, and the layout of your space, you can make an informed decision that aligns with your connectivity needs. Whether you opt for the reliability of Ethernet or the convenience of Wi-Fi, network adapters empower you to stay connected and engaged in today’s interconnected world.
Check Compatibility
Before purchasing a network adapter, ensure that it is compatible with your computer’s hardware and operating system. Check the manufacturer’s specifications and requirements to avoid any compatibility issues later.
Gather the Necessary Tools
Depending on the type of network adapter you’re installing, you might need a screwdriver, an available PCI slot, and any installation discs or USB adapters that came with the hardware.
Prepare Your System
Back up your important data and shut down your computer before proceeding with the installation. This ensures the safety of your data and prevents any potential damage to the system.
Installing An Ethernet Network Adapter
Open the Computer Case
If you’re installing an Ethernet adapter, you’ll need to open your computer case. Carefully remove the case’s side panel to access the internal components.
Why Open the Case?
Modern computers are designed with tightly sealed cases to protect their delicate internal components from dust, debris, and physical damage. However, when you’re installing hardware like a wired network adapter, you need to gain access to the motherboard and other internal parts. This allows you to insert the adapter into the appropriate slot and secure it firmly in place.
Safety First
Before you begin, it’s crucial to prioritize safety. Turn off your computer and unplug it from the power source. This prevents any electrical shocks and ensures that you won’t accidentally activate the computer while working on its internal components. Additionally, grounding yourself by touching a metal surface helps discharge any static electricity that could potentially damage your hardware.
Tools You’ll Need
You’ll need a Phillips-head screwdriver for this task. Make sure it’s the right size for the screws securing the side panel of your computer case. Having an anti-static wrist strap is also a good idea to prevent electrostatic discharge that can harm sensitive components.
Steps to Open the Case
- Locate the Side Panel Screws: Most computer cases have screws securing the side panel. These are typically located at the rear of the case. Look for two or more screws that are holding the panel in place.
- Remove the Screws: Use your Phillips-head screwdriver to carefully remove the screws. Place them in a safe spot to avoid losing them.
- Slide or Swing Open: Once the screws are removed, you can slide or swing open the side panel. Some cases have a latch or button that releases the panel. Gently slide or swing the panel away from the case.
- Safety Precautions: While the panel is open, avoid touching any internal components unless necessary. Handle the edges of the panel to minimize the risk of leaving fingerprints or smudges on delicate parts.
- Access the Components: With the side panel open, you now have access to the interior of your computer. You can locate the motherboard, PCI slots, and other hardware components.
Closing the Case
After you’ve installed the wired network adapter and secured it in place, it’s time to close the computer case. Gently align the side panel with the case and slide or swing it back into place. Make sure the panel is securely aligned with the case’s edges. Reinsert and tighten the screws to hold the panel in place.
By following safety precautions and using the right tools, you can ensure that your hardware remains intact and functional throughout the process. Once you’ve accessed the internal components, you’re ready to proceed with inserting the network adapter into the designated slot on the motherboard.
Locate the PCI Slot
With the computer case open and the motherboard before you, the next step in installing a wired network adapter is to locate the appropriate PCI slot. The PCI slot is where the network adapter will be inserted to establish a physical connection with the motherboard. Here’s how to identify the PCI slot and ensure you’re ready for the installation.
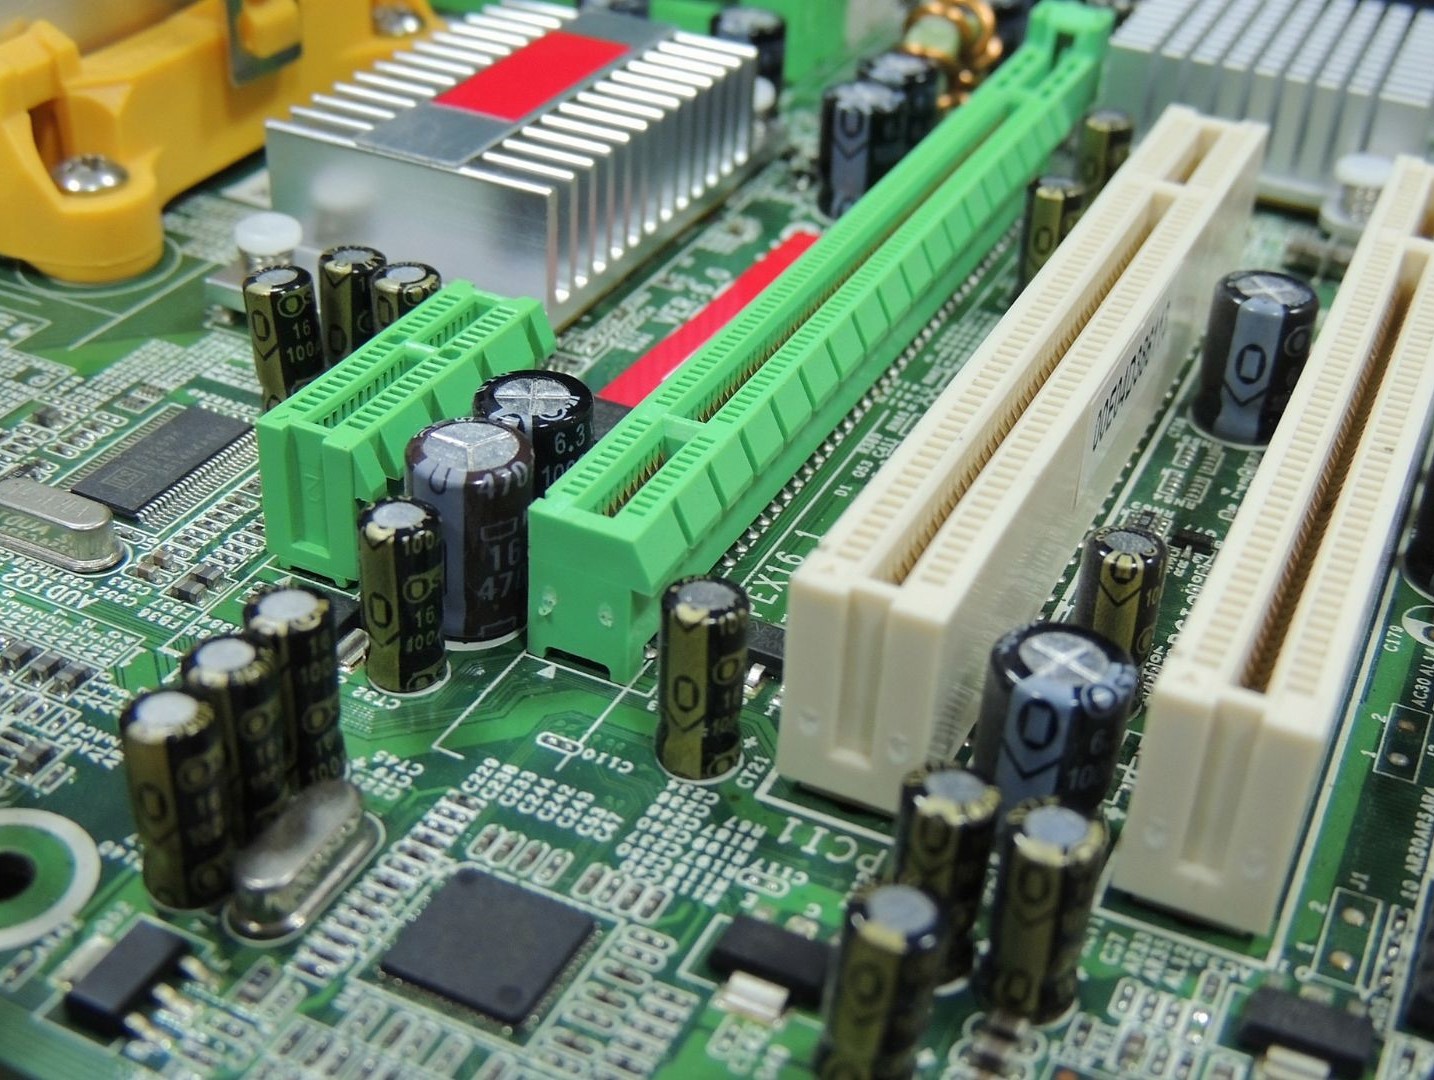
Understanding PCI Slots
PCI stands for Peripheral Component Interconnect, and PCI slots are the standardized connectors on a motherboard that allow you to add expansion cards, such as network adapters, graphics cards, and sound cards. These slots provide a direct connection to the motherboard, enabling efficient communication between the expansion card and the computer’s components.
Steps to Locate the PCI Slot
- Examine the Motherboard: Take a careful look at the motherboard inside your computer case. You should be able to see multiple slots of varying lengths and sizes. These are the PCI slots.
- Identify the Longest Slot: In most cases, the longest slot is the primary PCI slot. This slot is where you’ll typically install the most crucial expansion cards, like the network adapter. It offers the best compatibility and performance.
- Count the Slots: If you’re unsure which slot is the primary one, count the slots starting from the top of the motherboard, where the CPU is located. The primary slot is usually the third one down.
- Check for Clips or Locks: Some motherboards feature retention clips or locks near the slots. These mechanisms help hold the expansion cards securely in place once installed. Make sure you’re aware of their positions as you prepare to insert the network adapter.
Precautions
When locating the PCI slot, ensure that the computer is powered off and unplugged. Handle the motherboard and other components with care to avoid damaging them. Additionally, ground yourself by touching a metal surface before handling any sensitive hardware to discharge any static electricity.
Insert the Network Adapter
Gently insert the network adapter into the chosen PCI slot. Make sure it’s properly aligned with the slot and securely inserted.
With the computer case open and the PCI slot identified, the next step in installing a wired network adapter involves carefully inserting the adapter into the chosen slot on the motherboard. This step ensures that the network adapter establishes a physical connection, allowing data to flow between the adapter and the motherboard. Here’s how to properly insert the network adapter to ensure a successful installation.

Steps to Insert the Network Adapter
- Position the Adapter: Hold the network adapter in a way that aligns the connector pins on the bottom of the adapter with the slot on the motherboard. Make sure the adapter is oriented correctly, as it will only fit into the slot in one specific way.
- Gentle Pressure: Apply gentle, even pressure to the adapter as you guide it into the slot. The goal is to slide the adapter’s connector into the slot smoothly without using excessive force.
- Ensure Proper Alignment: As you insert the adapter, ensure that the connector pins align with the corresponding contacts within the slot. This alignment is crucial to establishing a secure and functional connection.
- Do Not Force: If you encounter resistance or the adapter doesn’t seem to fit, do not force it. Double-check the orientation and alignment to avoid damaging the adapter or the motherboard.
- Smooth Insertion: With proper alignment, the adapter should slide into the slot smoothly. The connector pins should go into the slot without any bending or misalignment.
Precautions
Throughout the insertion process, be gentle and patient. Applying too much force or misaligning the adapter can lead to damage to the adapter, the motherboard, or both. It’s also essential to avoid touching any other components on the motherboard while inserting the adapter to prevent accidental damage.
Securing the Adapter
Once the network adapter is inserted into the PCI slot, you’ll likely need to secure it in place using a screw or retention mechanism. This prevents the adapter from coming loose during regular use or if the computer is moved. Refer to the manufacturer’s instructions or your motherboard’s manual for guidance on securing the adapter.
Close the Computer Case
After securing the adapter, put the computer case’s side panel back in place and secure it. Your wired network adapter is now physically installed.
Installing A Wi-Fi Adapter
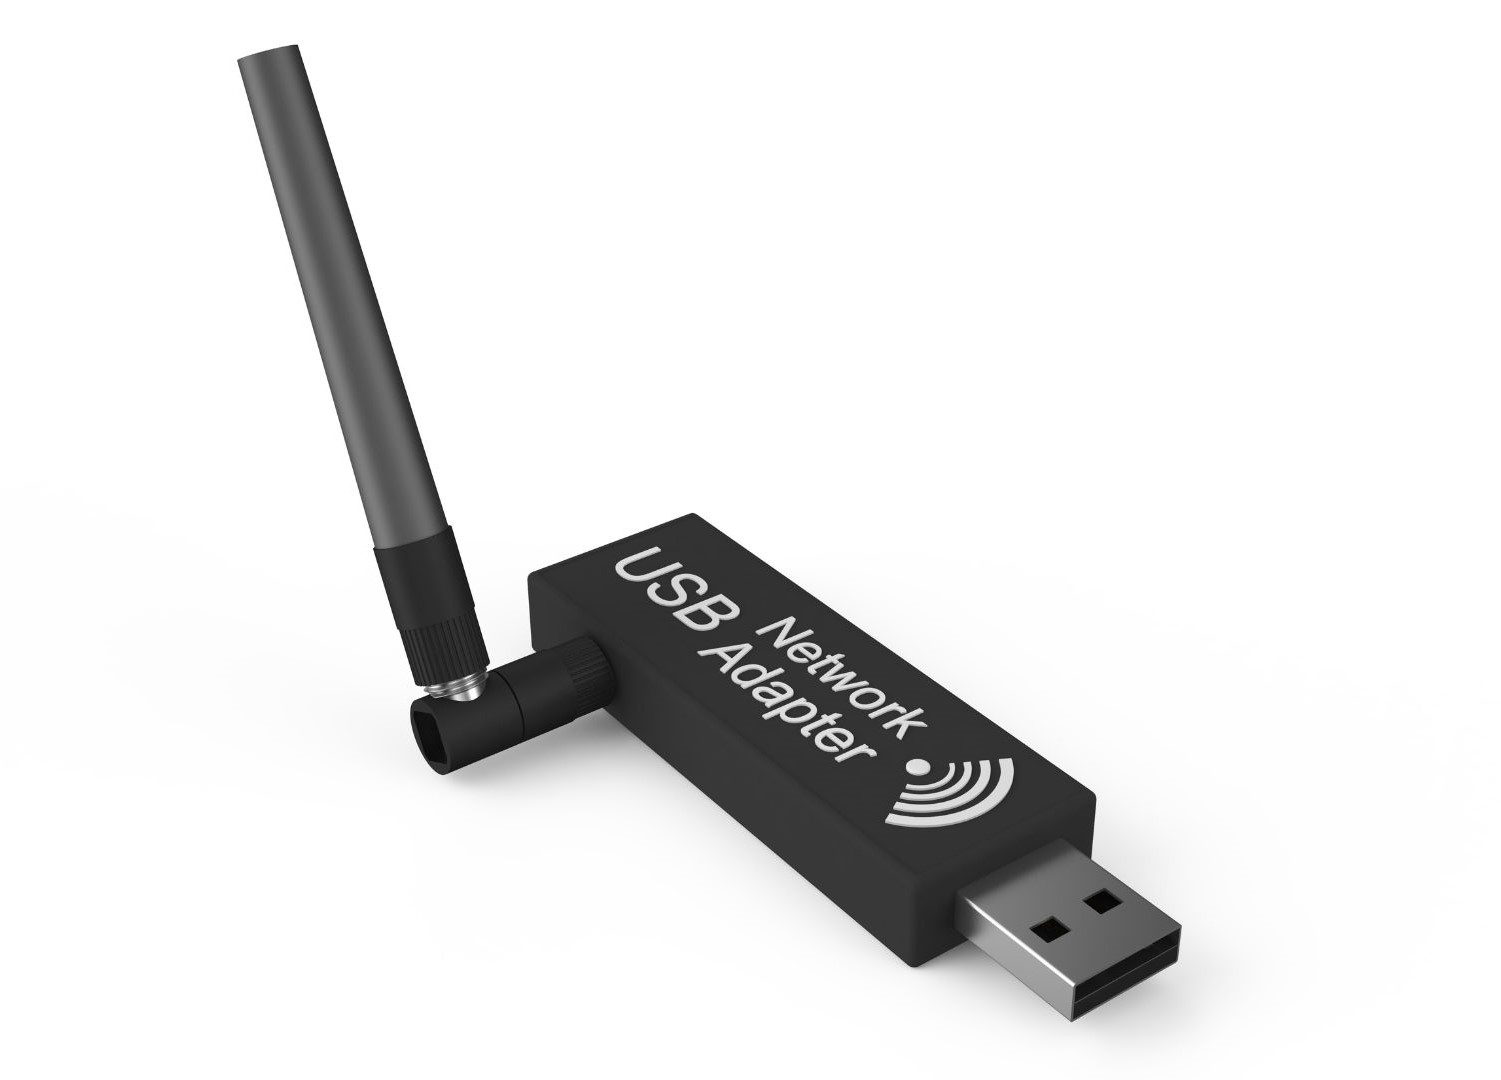
Insert the USB Adapter
For wireless network adapters, insert the USB adapter into an available USB port on your computer. Wait for the operating system to recognize the new hardware.
Steps to Insert the USB Adapter
- Choose an Available USB Port: Look for an available USB port on your computer. USB ports are typically located on the front, back, or sides of your computer case. Choose a port that is easily accessible and won’t obstruct other ports or components.
- Check the Adapter’s Orientation: Examine the USB adapter to identify its correct orientation. Most USB adapters have a standardized design, with one side meant to be inserted into the USB port and the other side containing the wireless hardware.
- Insert the Adapter: Gently insert the USB adapter into the chosen USB port. Apply gentle pressure to ensure a secure connection, but avoid using excessive force.
- Firm Connection: The USB adapter should fit into the port smoothly and snugly. It should not feel loose or wobbly once inserted.
- Wait for Recognition: Once the USB adapter is inserted, your computer’s operating system should recognize the new hardware and start installing the necessary drivers and software automatically.
Precautions
Be cautious while inserting the USB adapter to avoid damaging the port or the adapter itself. Apply gentle pressure, and if you encounter resistance, double-check the orientation before proceeding.
Inserting a USB adapter to install a wireless network adapter is a straightforward process. By selecting an available USB port and ensuring proper orientation, you’ll be on your way to connecting your computer to Wi-Fi networks without the hassle of cables. After the adapter is inserted and the necessary drivers are installed, you can proceed to connect to available Wi-Fi networks and enjoy wireless connectivity.
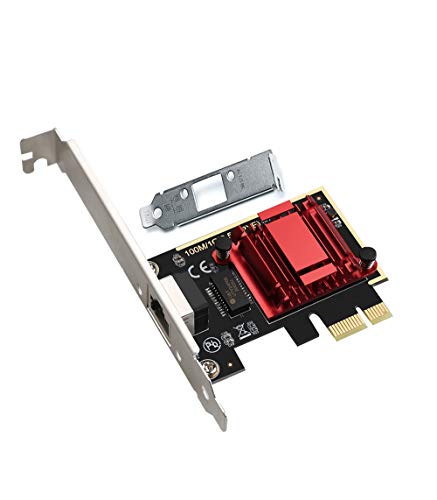
 (ST729)")
PCIe ST729 Gigabit Network Card
Install Drivers and Software
If your wireless adapter came with an installation disc, insert it into your computer and follow the on-screen instructions to install the necessary drivers and software.
After inserting your wireless network adapter, the next crucial step is to install the necessary drivers and software. These components enable your computer to communicate effectively with the adapter and establish a connection to Wi-Fi networks. Here’s how to ensure a smooth installation process.
Steps to Install Drivers and Software
- Automatic Detection: Once you’ve inserted the USB adapter, your operating system should recognize the new hardware and attempt to install the required drivers automatically. You might see a notification indicating that new hardware has been detected.
- Follow On-Screen Prompts: If prompted, follow the on-screen instructions to proceed with the driver installation. Your operating system might search for drivers online or use drivers included in its database.
- Use Included Disc or Download: If your wireless network adapter came with an installation disc, insert it into your computer’s optical drive. Alternatively, you can usually download the necessary drivers and software from the manufacturer’s website.
- Install Software Suite: In addition to drivers, some wireless network adapters come with a software suite that provides additional features and settings. If applicable, install the software suite according to the manufacturer’s instructions.
- Restart if Required: After the drivers and software are installed, your operating system might prompt you to restart your computer. This step ensures that the newly installed components are fully integrated into your system.
Precautions
When installing drivers and software, ensure that you’re downloading them from reputable sources. Avoid downloading from unofficial websites to prevent potential security risks or compatibility issues. Stick to the manufacturer’s official website or the installation disc provided with the adapter.
Connecting to Wi-Fi Networks
Once the drivers and software are installed, you can proceed to connect to available Wi-Fi networks. Depending on your operating system and the software provided by the manufacturer, you’ll likely find an option to view and select available networks. Enter the network’s password if required, and your wireless network adapter should establish a connection.
Installing drivers and software is the final step in setting up your wireless network adapter. Properly installed drivers ensure that your adapter works seamlessly with your operating system, enabling you to connect to Wi-Fi networks effortlessly. By following the provided instructions and making sure to use reputable sources for drivers and software, you’ll be well on your way to enjoying wireless connectivity on your computer.
Connect to a Network
Once the drivers are installed, you can use your computer’s operating system or the provided software to search for and connect to available Wi-Fi networks.
Power Up Your System
Turn on your computer and wait for the operating system to fully load. Your newly installed network adapter should be recognized and ready for use.
Verify the Network Connection
Open a web browser and navigate to a website to ensure that your network adapter is working correctly. If you’re able to access the internet or local network resources, your installation was successful.
Conclusion
Installing a network adapter, whether wired or wireless, is a fundamental step in establishing a reliable internet connection. By following the outlined steps, you can ensure a smooth installation process and enjoy seamless online communication.
FAQs
- Can I install both wired and wireless network adapters on my computer? Yes, you can have both types of adapters installed simultaneously, but it’s important to manage them properly to avoid conflicts.
- Do I need to install drivers for my network adapter? Yes, drivers are essential for the proper functioning of your network adapter. Make sure to install the latest drivers for optimal performance.
- What if I can’t find an available PCI slot for my wired adapter? If you’re out of available slots, you might need to remove a less essential card or consider using a USB network adapter.
- Can I install a network adapter on a laptop? Most laptops come with built-in network adapters. However, if you need to upgrade or replace one, USB network adapters are a suitable solution.
- What do I do if my network adapter isn’t working after installation? Double-check your installation, ensure drivers are correctly installed, and troubleshoot any hardware issues. If the problem persists, seek technical assistance.