My Brother Printer Drum Replacement: A Comprehensive Guide
If you’re a proud owner of a Brother printer, understanding the role of it’s drum unit is crucial to maintaining the quality and longevity of your printouts. The drum unit plays a vital role in the printing process, ensuring that your documents come out crisp, clear, and professional-looking. In this guide, we’ll delve into the world of drum units in Brother printers, exploring their functions, maintenance, troubleshooting, and more.

1. Introduction to Drum Units
The drum unit, often referred to as a photoconductor or imaging drum, is an essential component of laser printers, including Brother models. Its primary function is to transfer toner particles onto the paper to create text and images during the printing process.
2. How Drum Units Work
A printer drum is actually a small wonder of modern technology. Drum units are at the heart of the laser printing process, orchestrating a complex dance of light, electricity, and toner to create the final printed image. Here’s a step-by-step breakdown of how these remarkable components work:

Step 1: Charging the Drum Surface When you send a document to print, the printer’s laser beam scans across the drum unit’s surface. This laser light carries an electrical charge that renders specific areas of the drum’s photoconductive material positively or negatively charged.
Step 2: Exposing the Drum to the Image The laser beam is modulated to mirror the content of your document. As it moves across the drum’s surface, it forms an electrostatic version of the image. The positively charged areas on the drum represent the dark parts of the image, while the negatively charged areas correspond to the light parts.
Step 3: Attracting Toner Particles The drum unit now comes into contact with the toner, which is a fine, powdery substance. Toner particles are attracted to the oppositely charged areas on the drum’s surface. The positively charged toner is drawn to the negatively charged areas and vice versa.
Step 4: Transferring the Toner to Paper As a sheet of paper moves through the printer, it passes close to the drum unit. The electric charge on the paper is stronger than that on the drum, causing the toner particles to leap from the drum onto the paper’s surface. This creates a preliminary version of the printed image on the paper.
Step 5: Fusing the Toner to Paper The paper with the toner image now enters the fuser unit, which is a pair of heated rollers. These rollers melt the toner particles and press them firmly into the fibers of the paper. This fusion process ensures that the toner becomes a permanent part of the paper, creating a durable and smudge-resistant image.
Step 6: Ejecting the Printed Page Once the toner is fused onto the paper, the printed page exits the printer’s output tray. The drum unit continues to rotate, preparing for the next round of printing.
In essence, the drum unit serves as the intermediary between the digital document and the physical print. Its ability to precisely charge areas of its surface and attract toner particles creates the foundation for high-quality printed materials. Understanding this intricate process sheds light on the magic behind the seemingly simple act of printing a document.
3. Signs of a Worn-Out Drum Unit
The drum unit in your Brother printer is a vital component that ensures the quality and clarity of your printed documents. Over time, however, drum units can experience wear and tear that affects their performance. Recognizing the signs of a worn-out drum unit is essential to maintain the integrity of your printouts. Here are some telltale indicators that it might be time to consider replacing your drum unit:

1. Faded or Uneven Print Quality: One of the most noticeable signs of a worn-out drum unit is a decline in print quality. If you notice that your printed documents are coming out faded, with text and images lacking the usual sharpness and vibrancy, it’s likely that the drum unit is struggling to transfer toner effectively.
2. Streaks and Smudges: Another red flag is the appearance of streaks or smudges on your printouts. These imperfections can result from areas of the drum unit not properly discharging or attracting toner particles, leading to uneven distribution and subsequent streaks on the paper.
3. Ghosting or Repetitive Images: Ghosting occurs when faint duplicate images appear on the printed page, slightly offset from the original image. This phenomenon can be attributed to a damaged drum surface that retains traces of toner from previous print jobs.
4. Toner Buildup: Excessive toner buildup on the drum’s surface can cause toner particles to clump together, leading to irregularities in the printed image. If you notice areas where the toner appears thicker or darker than usual, it’s a sign that the drum unit is struggling to maintain an even charge.
5. Smears When Touched: If touching a freshly printed page causes the toner to smear or smudge easily, it’s likely that the toner isn’t adhering properly to the paper. This could be due to a compromised drum unit that isn’t effectively transferring the toner.
6. Decreased Print Volume: As the drum unit nears the end of its lifespan, you might notice a decrease in the number of pages it can successfully print before issues arise. If you find yourself replacing toner cartridges frequently and still experiencing poor print quality, the drum unit might be the culprit.
7. Audible Abnormalities: Unusual sounds, such as grinding, squeaking, or clicking noises, during the printing process can indicate mechanical problems with the drum unit. These sounds might suggest that the drum’s rotating components are no longer functioning smoothly.
8. Print Errors and Messages: Modern printers often come equipped with error messages or notifications that alert you to potential issues. If your printer consistently displays messages related to the drum unit, such as “Replace Drum” or “Drum End Soon,” it’s a clear indication that the drum unit requires attention.
In conclusion, being attentive to the signs of a worn-out drum unit can save you from the frustration of poor print quality and help you maintain the professionalism of your printed materials. If you’re experiencing any of the aforementioned issues, it’s worth considering a replacement drum unit to ensure that your Brother printer continues to produce high-quality prints that meet your expectations.
4. Replacing a Drum Unit in Your Brother Printer
When the print quality of your Brother printer starts to decline and you’ve identified the culprit as a worn-out drum unit, it’s time to embark on the journey of replacing it. While it might sound daunting, replacing a drum unit is a straightforward process that can breathe new life into your printer’s performance. Here’s a step-by-step guide to help you navigate through the process:

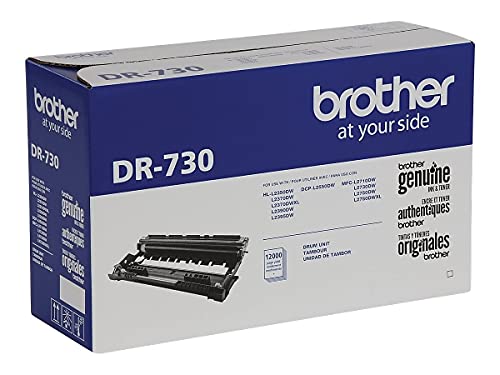
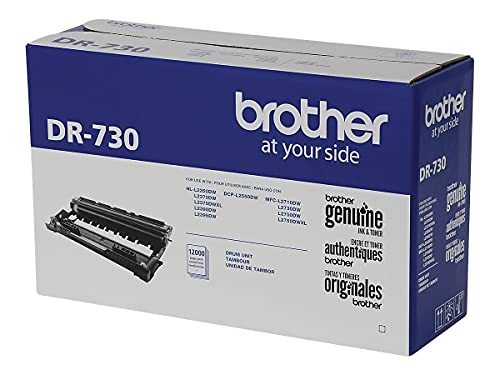
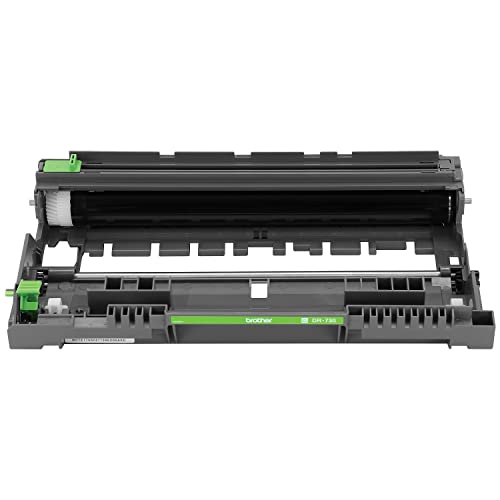
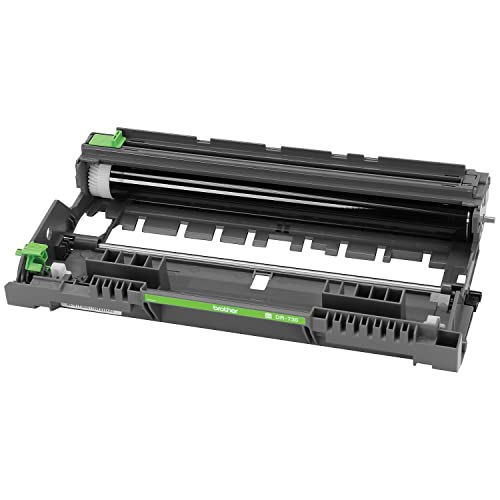
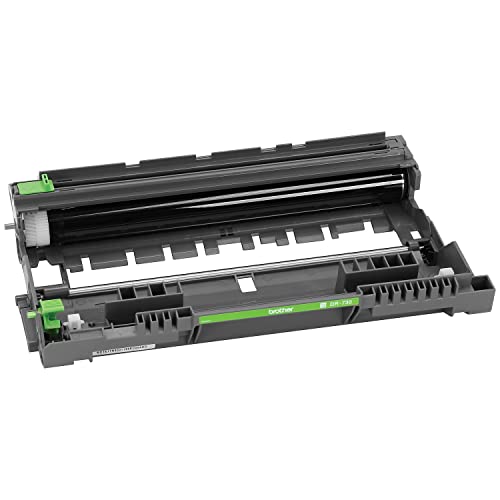
Brother Genuine DR730 Drum Unit, Up To 12,000 Page Yield


Step 1: Gather Necessary Supplies Before you begin, make sure you have the new replacement drum unit on hand. It’s also a good idea to have a soft, lint-free cloth for cleaning any residual toner or dust.
Step 2: Power Off the Printer Start by turning off the printer and unplugging it from the power source. This ensures your safety and prevents any electrical mishaps while you’re working on the internal components.
Step 3: Open the Printer Locate the access panel or cover that provides access to the drum unit. Depending on your printer model, this panel might be on the front, top, or side of the printer. Gently open the panel to reveal the drum unit and toner cartridge.
Step 4: Remove the Toner Cartridge In most Brother printers, the drum unit and toner cartridge are a single unit. Carefully remove the toner cartridge by grasping the handle and lifting it out of the drum unit.
Step 5: Unpack the New Drum Unit Take the new drum unit out of its packaging, being cautious not to touch the green drum surface. The drum’s sensitivity to light and touch means that any unnecessary contact might affect its performance.
Step 6: Insert the New Drum Unit Insert the new drum unit into the printer where the old one was removed. Ensure that it fits snugly and securely into place.
Step 7: Reinsert the Toner Cartridge If your drum unit and toner cartridge are separate, reinsert the toner cartridge into the new drum unit. Make sure it clicks into place, indicating that it’s properly seated.
Step 8: Close the Printer Panel Close the access panel or cover that you opened in Step 3. Make sure it’s securely closed before moving on to the next step.
Step 9: Power On the Printer Plug the printer back into the power source and turn it on. The printer will recognize the new drum unit and prepare it for printing.
Step 10: Test Your Printer Print a test page to ensure that the new drum unit is functioning correctly. This will help you confirm that the print quality has improved and that the installation was successful.
Congratulations! You’ve successfully replaced the drum unit in your Brother printer, rejuvenating its printing capabilities and ensuring that your documents look crisp and professional once again. Remember, each printer model might have slight variations in the replacement process, so it’s always a good idea to consult your printer’s manual for specific instructions tailored to your device.
5. Step-by-Step Guide to Cleaning Your Drum Unit
Regular maintenance of your printer’s drum unit can significantly improve print quality and extend its lifespan. Cleaning the drum unit might seem like a delicate task, but with the right approach, you can effectively remove toner buildup and ensure optimal performance. Follow these step-by-step instructions to clean your drum unit properly:

 Amazon.com

Step 1: Power Off the Printer Before you start cleaning, turn off the printer and unplug it from the power source. This precaution ensures your safety and prevents any accidental electrical mishaps during the cleaning process.
Step 2: Open the Printer Access Panel Locate the access panel or cover that provides access to the drum unit. Gently open the panel to expose the drum unit and toner cartridge. Be cautious and handle the components gently to avoid damaging sensitive parts.
Step 3: Remove the Drum Unit Carefully detach the drum unit from the printer. Depending on your printer model, this might involve releasing a latch or gently lifting it out of its slot. Place the drum unit on a clean and flat surface covered with a soft cloth to catch any loose toner.
Step 4: Inspect the Drum Surface Take a close look at the drum’s surface. Look for any streaks, smudges, or toner buildup that might be affecting print quality. If you spot any areas that need cleaning, proceed to the next step.
Step 5: Gently Wipe the Drum Surface Dampen a soft, lint-free cloth with isopropyl alcohol or water. It’s crucial to avoid using excessive moisture, as this can damage the drum. Gently wipe the drum’s surface using a light, circular motion. Be cautious not to apply too much pressure, as the drum surface is sensitive.
Step 6: Clean the Corona Wire The corona wire plays a critical role in the drum unit’s function. Use a clean, dry cotton swab to gently wipe the corona wire, which is usually labeled inside the drum unit. Cleaning the corona wire helps ensure that the electrical charge is evenly distributed during the printing process.
Step 7: Allow the Drum Unit to Dry After cleaning, allow the drum unit to air dry for a few minutes. Ensure that it’s completely dry before reassembling it into the printer.
Step 8: Reinsert the Drum Unit Carefully place the clean and dry drum unit back into the printer’s designated slot. Make sure it fits snugly and securely.
Step 9: Reassemble the Printer Close the access panel or cover that you opened earlier. Make sure it’s properly closed and latched to avoid any printing errors or issues.
Step 10: Power On the Printer Plug the printer back into the power source and turn it on. The printer will go through its initialization process, recognizing the cleaned drum unit.
Step 11: Print a Test Page To confirm that the cleaning process has positively impacted print quality, print a test page. This will help you assess whether the drum unit’s performance has improved and whether any issues have been resolved.
Regularly cleaning your drum unit can go a long way in maintaining optimal print quality and prolonging the life of your printer. By following these steps and exercising care during the cleaning process, you’ll ensure that your printer consistently delivers clear and professional-looking documents.
6. Maximizing Drum Unit Lifespan
Extend the life of your drum unit by:
- Using high-quality paper.
- Avoiding exposure to direct sunlight.
- Keeping the printer in a cool, dry place.
- Using the printer regularly to prevent toner buildup.
7. Common Issues and Troubleshooting Tips
Encountering print issues? Try these solutions:
- Clean the corona wire.
- Check for firmware updates.
- Verify toner cartridge compatibility.
8. Comparing Original vs. Compatible Drum Units
Original drum units are designed by the manufacturer, ensuring compatibility and optimal performance. Compatible units are third-party alternatives that might be more budget-friendly.
9. Cost-Effectiveness of Drum Unit Replacement
While original drum units may have a higher upfront cost, they offer long-term value due to their durability and consistent performance. Compatible units might be cheaper initially but could lead to more frequent replacements.
")
10. DIY Drum Unit Maintenance
Maintaining your printer’s drum unit is a proactive step toward ensuring consistent print quality and extending the lifespan of this critical component. While professional servicing is recommended for complex issues, there are several do-it-yourself (DIY) maintenance practices you can adopt to keep your drum unit in top shape. Here’s a guide to DIY drum unit maintenance:
1. Regular Inspection: Set aside time for periodic visual inspections of your drum unit. Check for signs of toner buildup, streaks, or smudges on the drum’s surface. Identifying these issues early allows you to address them before they impact print quality.
2. Gentle Cleaning: Regularly clean the drum unit’s exterior using a soft, lint-free cloth. This prevents dust and debris from entering the internal components and affecting performance.
3. Avoid Direct Sunlight: Position your printer away from direct sunlight and extreme temperatures. Exposure to sunlight can deteriorate the drum’s sensitive components, leading to premature wear.
4. Use High-Quality Paper: Opt for high-quality paper that’s compatible with your printer. Inferior paper can leave behind paper dust and residue, which might accumulate on the drum surface and affect print quality.
5. Maintain Optimal Humidity: Maintain a moderate level of humidity in the printing environment. Extremely dry or overly humid conditions can impact the performance of the drum unit.
6. Preventative Cleaning: Periodically clean the printer’s paper path and rollers. Dust and debris in these areas can transfer onto the drum unit and compromise print quality.
7. Minimize Toner Spills: Handle toner cartridges with care to avoid spills. Toner particles can find their way into the drum unit and cause issues.
8. Store Toner Properly: If you have spare toner cartridges, store them in a cool, dry place. Extreme temperatures can impact the quality of the toner and subsequently affect print results.
9. Regular Usage: Use your printer regularly. Infrequent use can lead to toner buildup and mechanical issues in the drum unit.
10. Replace Components Wisely: When performing DIY maintenance, follow your printer’s manual for guidance on replacing individual components like the corona wire. Improper handling can damage the drum unit.
11. Gentle Touch: When cleaning the drum unit’s corona wire or other components, use a gentle touch. Delicate parts can be damaged by excessive pressure.
12. Keep Documentation: Keep track of your maintenance activities and any issues you’ve encountered. This documentation can be helpful if you need to seek professional assistance.
By adopting these DIY drum unit maintenance practices, you take proactive steps to ensure the longevity and optimal performance of your printer’s drum unit. Regular attention to maintenance not only enhances print quality but also contributes to the overall efficiency of your printing tasks. Remember, while DIY maintenance is valuable, it’s essential to consult your printer’s manual and seek professional help when encountering complex issues or when the printer’s performance is compromised.
11. The Impact of Drum Units on Print Quality
A well-maintained drum unit ensures sharp text and vibrant images. Neglecting maintenance could lead to faded prints and reduced visual appeal.
12. Choosing the Right Drum Unit for Your Printing Needs
Consider factors like printer model, expected print volume, and budget when selecting a drum unit. Original units are a safe bet for consistent quality, while compatible units might suit less demanding printing tasks.
13. Frequently Asked Questions (FAQs)
Q1: How often should I replace the drum unit? A: It depends on your print volume, but a typical drum unit lasts for thousands of pages.
Q2: Can I use a compatible drum unit without voiding the warranty? A: Using compatible units might affect the warranty; refer to your printer’s documentation.
Q3: What’s the role of the corona wire in drum units? A: The corona wire transfers the toner to the paper by creating an electrostatic charge.
Q4: Are there eco-friendly drum unit options? A: Some manufacturers offer eco-friendly drum units made from recycled materials.
Q5: Where can I find a replacement drum unit? A: You can purchase drum units from office supply stores, online retailers, or directly from the manufacturer.
In conclusion, the drum unit is an integral component of your Brother printer that directly influences print quality and longevity. Regular maintenance and informed purchasing decisions can ensure that your prints remain top-notch while optimizing the drum unit’s lifespan. Remember, a well-maintained drum unit contributes to the overall efficiency and effectiveness of your printing tasks.