The Ultimate Guide To Setting Up Your Own NAS
NAS Storage: Your Home Network’s Secret Weapon
Sick of juggling a stack of external hard drives like it’s the early 2000s? Tired of paying a monthly ransom to cloud companies just to get at your own files? Time to take control. Enter the NAS—your very own personal cloud box sitting right in your home. With it, you get to be the boss: total control, local or remote access, built-in redundancy, and way better privacy.
This guide is the whole enchilada—step-by-step, no skipped beats, and definitely no “rage-quit moments.” By the time you’re done, you’ll have a NAS that’s humming along, keeping your files safe, and ready to flex as a media server, backup hub, or small-office powerhouse.
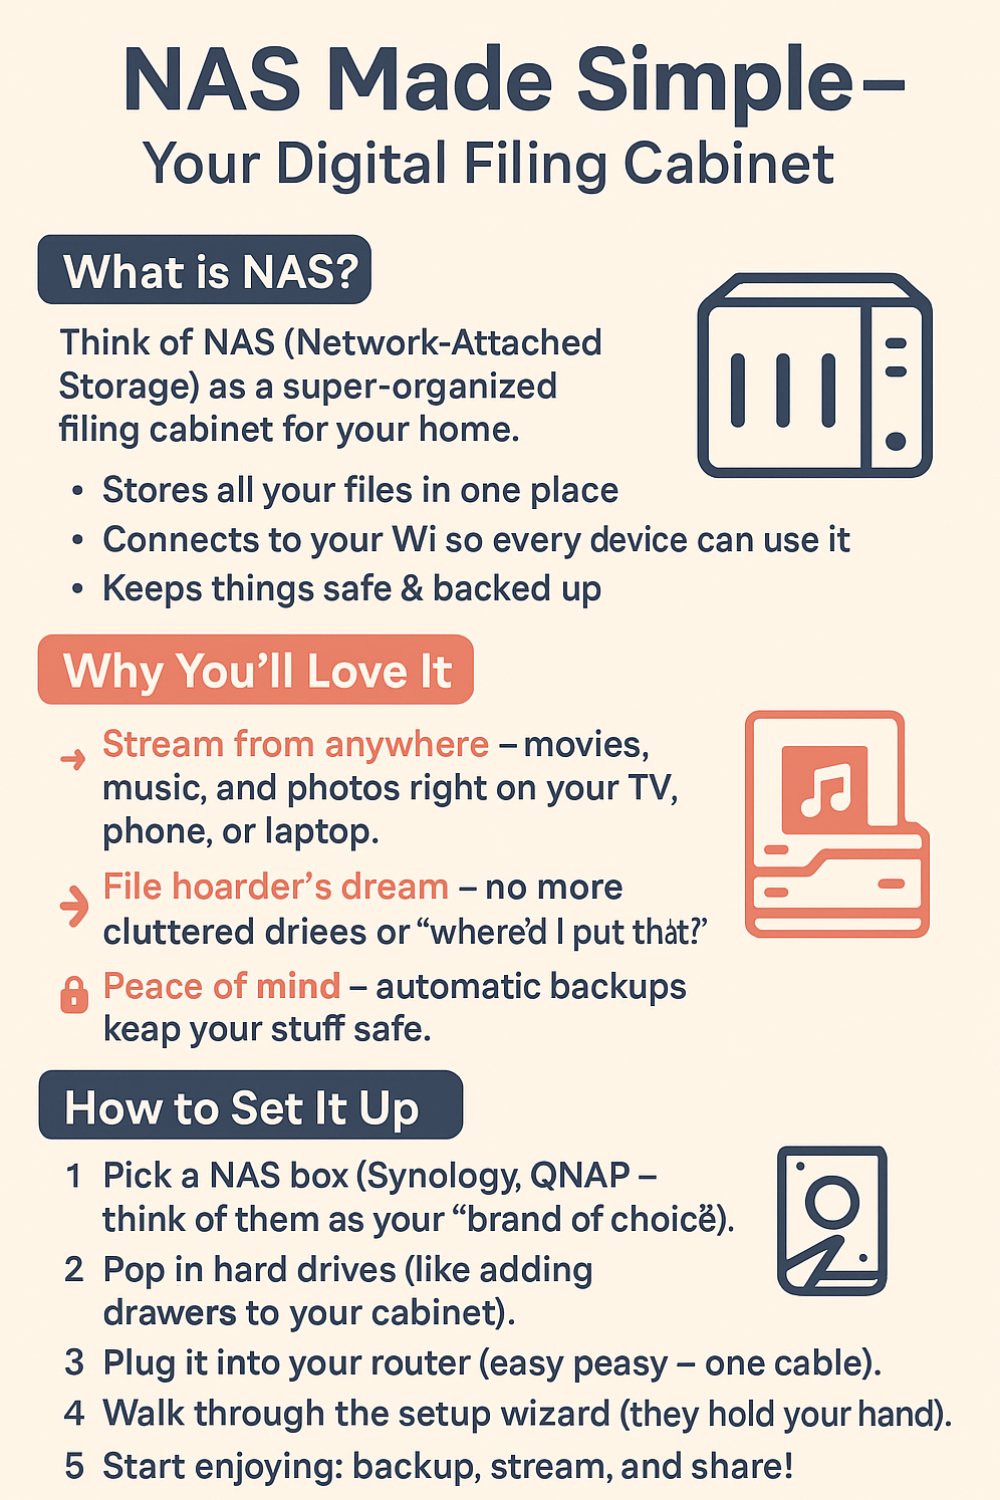
What the Heck is a NAS?
NAS stands for Network Attached Storage, which sounds fancier than it is. Picture this: it’s basically a mini server that plugs into your network and acts like a super-smart hard drive. You can stash your files, back up devices, run apps, and even stream Netflix-style media from it.
Think of it as your personal cloud—but instead of living on someone else’s server farm, it lives in your house, wearing sweatpants, sipping coffee, and doing exactly what you tell it to.
Why NAS is a Game-Changer
- Centralized Storage – One hub for all your docs, photos, videos, cat memes—you name it.
- Easy Sharing – Pass files around your home or office without plugging in thumb drives.
- Redundancy = Sleep at Night – RAID options mean if one drive dies, your data lives on.
- Remote Access – Get to your files from anywhere (yes, even at Starbucks).
- DIY Privacy – No snooping by random companies. Your data stays yours.
- Save Money – Skip the subscription fees. Pay once, enjoy for years.
- Scales with You – Start small, add more space later when your file hoarding gets real.
NAS in Action
- Media Beast – Stream movies, music, and photos to your TV or tablet.
- Backup Buddy – Automatically back up every device in your house.
- Small Biz Lifesaver – Shared files, collaboration, access control = happy office.
- Security Cam Vault – Many NAS units double as storage for your IP cameras.
Choosing the Right NAS (Don’t Overthink It)
This is where people hit “analysis paralysis.” Relax—here’s your signal sanity check:
For Home Users
- Drive Bays – 2 bays = starter pack. 4 bays = future-proofing.
- Brains (CPU + RAM) – More horsepower = smoother multitasking (media streaming + backups + Plex).
- RAID Support – Go RAID-1 or RAID-5 for that safety net.
- Ports Galore – USB, eSATA…future-you will thank you.
- Compatibility – Plays nice with Windows, Mac, and mobile.
For Business Users
- Expandability – Growth = more bays. Choose a model that scales.
- Network Speed – At least Gigabit, ideally multi-Gig. Slow NAS = office rage-quit.
- Enterprise Features – Virtualization, iSCSI, tight access control.
- Backup + DR – Look for built-in disaster recovery features.
- Multi-User Handling – Needs to juggle a crowd without lag.
WiFi Guy Pro Tip
If you want a safe bet? Synology. Friendly interface, rock-solid software, and a “click-click solution” setup experience.
| # | Preview | Product | Price | |
|---|---|---|---|---|
| 1 |

|
Synology 2-Bay NAS DS223 (Diskless) |
$284.99 |
Buy on Amazon |
| 2 |

|
Synology 1-Bay DiskStation DS124 (Diskless) |
$146.99 |
Buy on Amazon |
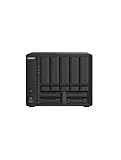
| 3 |

|
Synology 4-Bay DiskStation DS423 (Diskless) |
$379.99 |
Buy on Amazon |
- QNAP: QNAP NAS devices are renowned for their powerful hardware, extensive app library, and support for advanced features like virtualization.


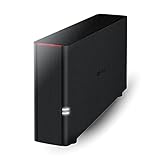
- Western Digital (WD): WD offers NAS solutions under its “My Cloud” series, which includes both single-bay and multi-bay options suitable for home and small office use.

- Buffalo: Buffalo NAS devices are known for their affordability and straightforward setup process, making them ideal for beginners.

NAS Hard Drives


Step 1: Unbox and Assemble
- Open the box and don’t panic. Inside, you’ll see the NAS itself, a power adapter, screws (yep, you’ll need them), and sometimes an Ethernet cable.
- Slide off the cover. Depending on your model, this might be a plastic latch or a tray system. Don’t force it — it’s designed to come apart.
- Insert your hard drives. They usually click into trays. If you hear a little snap when the drive locks in place, you’re golden.
- Secure with screws. If the trays don’t feel tight, give them a couple of screws so the drives aren’t wobbling when the NAS vibrates.
💡 WiFi Guy Tip: Think of the NAS like a mini-fridge. Drives are your food — slide them in carefully so they stay fresh.
Step 2: Hook It Up
- Power cable into the wall, Ethernet cable into your router. The NAS isn’t wireless by default — it wants to live right on your network.
- Flip the power button. Most Synology models have a tiny beep when they boot. That beep means “Hey, I’m alive!”
💡 WiFi Guy Tip: If you’re out of router ports, don’t unplug your Xbox. Grab a cheap switch (like a power strip for Ethernet).
Step 3: Find It on Your Network
- Go to
find.synology.comin your browser. This is Synology’s magic trick — it hunts down your NAS like a bloodhound. - Wait for your NAS to appear. If nothing shows, check the Ethernet cable. Ninety percent of setup problems = loose cables.
Step 4: Install DiskStation Manager (DSM)
- Click “Set up” when the wizard finds your NAS.
- Choose “Install DSM.” This is the operating system that makes the NAS more than a paperweight.
- Wait for it to download. It’ll reboot when it’s done, so don’t freak out when the screen goes blank for a minute.
💡 WiFi Guy Tip: This is like installing Windows on a new laptop — except Synology does the heavy lifting. Just be patient while it spins.
Step 5: Create Your Admin Account
- Pick a username you’ll remember. Don’t go with “admin.” That’s like leaving your front door unlocked.
- Make a strong password. Yes, I know — but trust me, this box is going to hold everything from baby pictures to tax docs. Use a mix of upper/lowercase, numbers, and a symbol or two.
- Give your NAS a name. This is what it’ll show up as on your network. Call it something fun like “WiFiVault” or “DataDragon.”
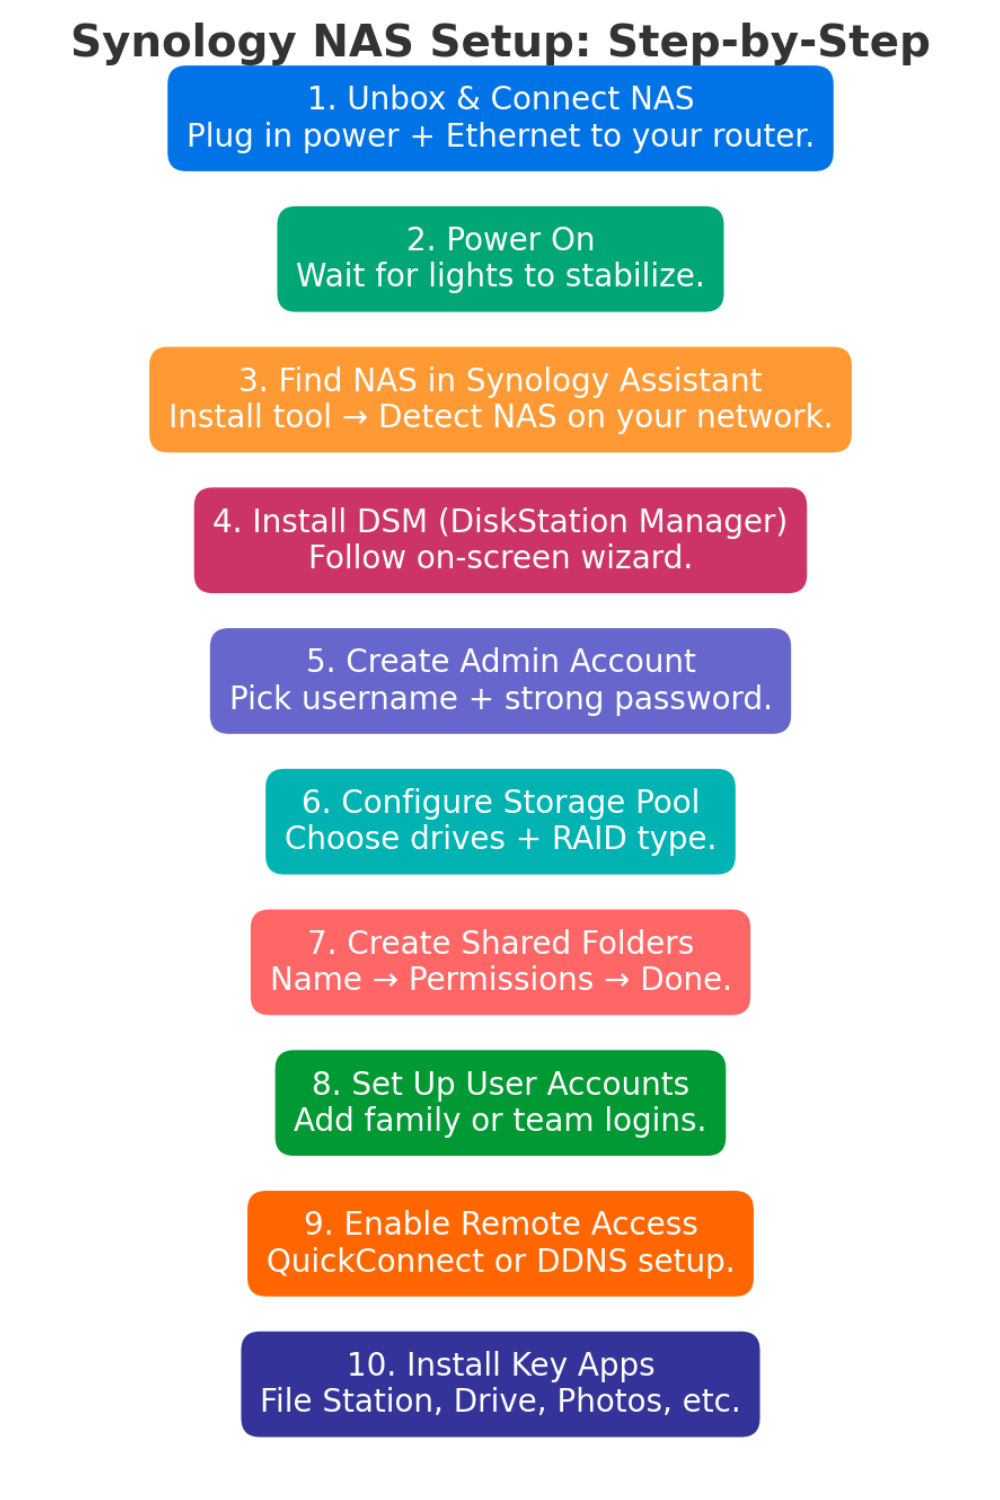
Step 6: Storage Setup
Here’s where people panic, so let’s go slow:
- Choose your storage pool type.
- Basic/RAID 0: All space, no protection. Fast but risky.
- RAID 1: Mirror drives. Half the space, but if one fails, your data’s safe.
- SHR (Synology Hybrid RAID): The “easy button.” Lets you mix drive sizes and still get redundancy.
- Follow the wizard. It’ll guide you through which drives to pick and how to set them up.
- Format the drives. Yes, this wipes them. Make sure you didn’t accidentally throw in your old photo archive drive without backing it up first.
💡 WiFi Guy Tip: If you’re not sure, pick SHR. It’s like auto-pilot for storage.
Step 7: Create Shared Folders
- Log in to DSM. You’ll see a desktop-style interface right in your browser.
- Click “Control Panel” → “Shared Folder.”
- Create a new folder. Name it something obvious like “Movies,” “Photos,” or “Backups.”
- Set permissions. Decide who can see what. You don’t want your kids poking around your work docs.
Step 8: Access Your Files
- On Windows: Open File Explorer → type
\\YourNASName. Bam, there are your folders. - On Mac: Finder → Go → Connect to Server → type
smb://YourNASName.
💡 WiFi Guy Tip: Bookmark it once it works so you don’t have to keep typing it in.

 Amazon.com

Step 9: Add Apps
Synology has its own App Store (Package Center). Here’s where the NAS goes from “fancy hard drive” to Swiss Army knife:
- Video Station: Stream movies to your TV.
- Photo Station or Synology Photos: Dump all your phone pics in one place.
- Surveillance Station: Turn it into a DIY security system.
- Cloud Station: Sync files like your own private Dropbox.
Step 10: Remote Access (Optional)
Want to reach your NAS from outside the house?
- Set up QuickConnect. This gives you a simple Synology link without messing with your router.
- Or do port forwarding. If you’re brave and want more control.
💡 WiFi Guy Tip: QuickConnect is the easy button. Port forwarding is the geek button. Choose wisely.
Step 11: Backup Strategy
This is the part most people skip until disaster strikes. Don’t be that person.
- Set up Hyper Backup. Point it to an external drive or cloud service.
- Test your backup. A backup you’ve never tested is just a wish.
Step 12: Keep It Healthy
- Update DSM regularly. They fix bugs and patch holes.
- Check drive health in Storage Manager. If a drive starts throwing errors, swap it before it dies.
- Dust it off once in a while. A NAS clogged with dust is a NAS that cooks itself.
WiFi Guy’s Take
Setting up a NAS feels intimidating until you realize it’s just like setting up a new phone: a little clicking, a little waiting, and suddenly you’re up and running. The key is not to rush. Follow the steps, don’t be afraid to Google an error message, and remember — this little box is going to be the backbone of your digital life.
FAQs
Q: Can I access my NAS from outside my home network?
👉 Yep! You can peek into your NAS when you’re not at home by setting up remote access. It’s kind of like giving yourself a secure digital front door key to your files.
Q: What type of drives should I use for my NAS?
👉 Go with NAS-grade drives. They’re built tough for 24/7 use and won’t flake out like regular desktop drives when you’re relying on them to hold your stuff.
Q: Can I use my NAS as a media server?
👉 You bet! A NAS can stream your movies, music, and photos straight to your TV, laptop, or phone. It’s like having your own private Netflix.
Q: How often should I back up my data on the NAS?
👉 Think “set it and forget it.” Schedule automatic backups so you’re always covered—how often depends on how often your files change. Daily for busy folks, maybe weekly for lighter use.
Q: Can I expand the storage capacity of my NAS in the future?
👉 Absolutely. Most NAS units are designed to grow with you. Pop in extra drives or swap for bigger ones when you start running out of space.
🧠More WiFi Brainiac Tips

Routers With High-End Security And Easy VLAN Support
These Wi-Fi 7 Mesh Bullies Crush Dead Zones

Start Your Smart Home Off Right With These 3 Top Smart Hubs
Find Your Perfect VPN Wireless Router — Easy Picks
Serious Security For Your Home Network

Wi-Fi Extender Face-Off: TP-Link RE600X vs Netgear EAX15

NETGEAR Orbi WiFi 7 970 vs TP-Link Deco BE85: Wi-Fi 7 Showdown!

TP-Link Deco X55 vs Amazon eero 6: Head-to-Head Comparison

TP-Link Deco XE75 vs. Amazon eero Pro 6E: Mesh Wi-Fi Comparison
Home Network Engineer Course
✅ You’ll Be Able To:
- Fix Wi-Fi and device problems fast – Know what’s wrong and how to handle it
- Speed up your connection – Boost coverage, kill lag, and reduce dropouts
- Lock it down – Protect your network from freeloaders and shady devices
- Upgrade with confidence – Know what gear to get (and what to skip)
- Stop second-guessing yourself – Never be scared of a blinking router again
Last update on 2026-01-18 at 20:05 Affiliate links and Images from Amazon Product Advertising API